

View an enlarged sample
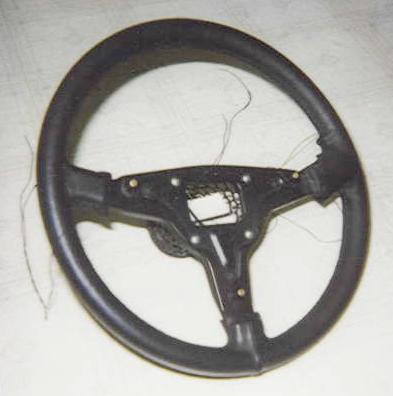
| Here is the wheel as I received it, just after slicing the top seam with a boxcutter - it was already pretty unstitched, but carefully running the boxcutter along the seam prepares the old cover for removal. This cover probably could have been resewn and redyed although it had some wear, but the owner wanted the squeezable soft feel of new leather. Note that the entire plastic outer covering was removed before shipping, not necessary, but ensures nothing gets damaged in shipping. I do recommend always removing the turn-cancelling ring, as this invariably has the little plastic tab broken off in shipping. | |
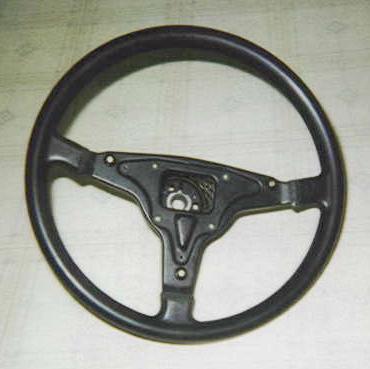
| A back view of the same stage as above. | |
| Here you can see I've started from the bottom spoke, moving up each side an inch or two at a time to try and keep things even. Keep checking the seam on the bottom spoke, as it is very difficult to keep it completely vertical. Don't worry if it's a touch off - I'm pretty sure that the factory ones were sometimes off. Just don't turn it into a diagonal seam! If you look carefully at the enlarged image, you can see where I've taken one set of threads (the one I'm not using at the moment), wrapped them around the little styrofoam thing AGLA delivers their thread on, stuck the needles into the edge, and stuffed the card into the center hub. This keeps things from getting TOO disorganized. I usually use four needles, two for each side of a seam. I especially like the curved needles which sometimes come with the AGLA kit. They are easier to curve through both sides of a seam, and also easier to tug on to pull the thread all the way through, eliminating | |
| Here the bottom spokes are basically done, then I start from the left side of the top and move across to the right. The upper left area at about 10-11 o'clock is usually where the leather first wears out, so I like to start from that side so the leather is less stressed in that area. By the time you get to the other side, you are probably having to do some adjusting, stretching or otherwise arranging the leather, maybe you run out of thread and have to tie it off and continue, all of which are probably a bit less durable. It's kind of a compulsive thing, too, I guess. Re: the thread length, I usually use 108" for the small spokes - 120" is safer - at the start, I pull this length through to the midpoint and then only tie it off when I reach the other end. | View an enlarged sample |
| Almost done. You can see that I leave the final work on the spokes until last. Often some tugging and squeezing is necessary to make sure everything lines up right. I also put a good bit of glue on the spoke areas, to make sure the leather lies flat. Trimming the excess from the spokes is the last thing to do. I've often thought about trying to sew the excess all the way over the ends of the spokes, but this is not how the originals were done. They are trimmed to the edge of the spoke. Often, a little permanent black magic marker is nice to make the edges 'disappear'. | |
| Ta-dahhh! |
accesses since odometer installed (27-Oct-2000)
![]() Downshift to first: return to Swapshop main page
Downshift to first: return to Swapshop main page
![]() Reverse to Porsche Obsession homepage
Reverse to Porsche Obsession homepage
Last Update: 13-Sep-2010 06:36:25 PM -0400